
Calculating Mulch Top-Offs vs. New Beds (How to Refresh Mulch Safely)
Every spring, the same thing happens. The beds look tired, the mulch has faded to a dusty gray, and the reflex is to order three yards and start over. Three years later there is a spongy, matted layer sitting six inches deep against the shrubs, water runs off it like a raincoat, and the plants that used to fill in are thinning out.
After the first year, you are not installing mulch anymore. You are maintaining it. And maintenance almost always means one inch, not three. Today’s article shows you how to measure what is already there, calculate the exact top-off volume you need, and know when a bed genuinely needs a full reset instead.
You will order less, spend less, and stop slowly suffocating the plants you paid for.
Mulch depth is a ceiling, not an annual dose
The number you have heard, two to three inches, is a total depth. It includes last year’s mulch, the year before that, and whatever you are about to spread today.
Rutgers Cooperative Extension puts it plainly: mulch depth should not exceed a total of three inches, including the mulch remaining from previous years plus the current season’s application. On compacted or poorly drained soils, the ceiling drops to two inches, especially for shallow-rooted plants like rhododendrons and azaleas that need high oxygen at the root zone.
So the math for a refresh is not “how much mulch do I want?” It is subtraction:
Top-off depth = target total depth − measured existing depth.
Example: target 3 inches and you measure 2 inches of old mulch still in place. Your top-off depth is 1 inch, not 3.
Why piling on hurts more than it helps
Organic mulch does not just sit there. It knits together, compacts, and dries into a crust. Once wood-based mulch dries out, it repels water, because dry organic matter is hydrophobic by nature.
Fine-textured, double-shredded mulch is the worst offender, since the small particles mat together tightly. That is why extension specialists recommend applying fine mulches in thin one- to two-inch layers rather than deep ones.
When that crust forms and you keep adding on top, three problems stack up.
Oxygen starvation: Roots respire. They need air in the soil pores. When a thick mulch layer holds water in the upper profile and blocks gas exchange, soil oxygen falls, and once it drops below roughly 10%, root growth in most trees declines. The decline is slow and quiet, often taking years, which is exactly why homeowners never connect the dying boxwood to the mulch pile.
Water never reaches the soil: Light rain and short irrigation cycles get absorbed by, or shed off, the mulch and evaporate before they ever hit the root zone. Research on organic mulches consistently shows that mulch thickness changes both infiltration into the soil and evaporation from it, and that benefits plateau well before you reach extreme depths. A long-term wood chip mulch thickness study comparing 2.5, 5, and 10 centimeter layers found the moisture and growth advantages did not keep scaling with depth the way people assume.
Roots move up into the mulch: When the soil below is waterlogged or airless, some species send fine feeder roots up into the mulch layer, where moisture and air are better balanced. Those roots are then living in the one part of your landscape that dries out fastest. The first hard drought kills them.
There is a nuance worth knowing, because the internet tends to state this as an absolute. Deep mulch is not automatically fatal. One study of an 18-inch coarse wood chip layer documented excellent root growth and no harmful effects, because coarse chips allow air and water to pass through.
A 2025 systematic literature review on excess mulch depth reached a similar conclusion: the evidence for harm is far more tied to material texture, drainage, and trunk contact than to depth alone. Coarse texture and good drainage buy you tolerance. Fine shredded mulch on heavy clay does not.
The practical takeaway for a homeowner using bagged or bulk shredded hardwood on average suburban soil: treat three inches as your ceiling and stay honest about it.
Step 1: Do a depth audit before you order anything
This takes ten minutes and it is the step that saves you the most money. Walk your beds with a ruler or a wooden paint stirrer marked at one, two, three, and four inches. In each bed, pick three or four spots that represent it fairly: one near the front edge, one in the middle, one back near the foundation or fence. At each spot, push the ruler straight down through the mulch until you feel the resistance change to soil. Read the number.
| What you measure | What it means | What to do |
|---|---|---|
| 0 to 0.5 in | Mulch is essentially gone, or it washed out | Apply a full 2 to 3 in installation |
| 0.5 to 1.5 in | Thin, normal after a hot year | Top off 1 to 1.5 in |
| 1.5 to 2.5 in | Healthy, just faded | Fluff and rake, then top off 0.5 to 1 in |
| 2.5 to 3 in | At the ceiling already | Fluff only, add nothing |
| Over 3 in | Over-mulched | Remove or redistribute the excess first |
Write the numbers down per bed. You will almost certainly find that your beds are not uniform. Front beds under roof runoff wash thin. Beds against a warm south wall break down fast. Shady beds along a fence still have two and a half inches from two seasons ago. Ordering one depth for the whole yard is how over-mulching happens.
The 10-second water test
Depth tells you about volume. It does not tell you whether the existing layer still works. Borrow a method soil scientists actually use, the water drop penetration test. Pour a small splash of water, roughly a tablespoon, onto the undisturbed mulch surface. Watch it.
- Soaks in within a few seconds: the layer is still functioning. Fluff and top off.
- Beads up and sits there past 10 seconds, or runs sideways: you have a hydrophobic crust. Break it up before you add anything, or your new mulch just becomes the top of a thicker raincoat.
- Water sits and the mulch beneath smells sour or looks like a gray fungal mat: that layer is not coming back. Plan on removal.
Fluffing is not busywork. Michigan State University Extension recommends turning or forking hyper-dry mulch specifically so air and water can channel back down to the soil. A single pass with a cultivator or garden fork also does something else useful: it turns up the unweathered material underneath, which restores a surprising amount of color on its own. Rutgers notes that a light raking of existing mulch may be all that is needed to break through the crusted layer.
Step 2: Calculate the top-off volume
Once you have your top-off depth, the volume math is simple. The only number you need to remember is 324.
Cubic yards = (square feet × depth in inches) ÷ 324.
That 324 comes from a cubic yard spread one inch deep covering 324 square feet.
Measure each bed’s area, multiply by your top-off depth, divide by 324. If a bed is an irregular kidney shape, break it into rectangles and half circles and add them up, or just multiply average length by average width and accept a small overage. Here is what the subtraction is actually worth on a typical suburban yard of 800 square feet of beds:
| Depth applied | Cubic yards for 800 sq ft | 2 cu ft bags needed | Rough bulk cost at $40/yd |
|---|---|---|---|
| 3 in (full install) | 7.41 | 100 | $296 |
| 2 in | 4.94 | 67 | $198 |
| 1 in (top-off) | 2.47 | 34 | $99 |
| 0.5 in (light color refresh) | 1.23 | 17 | $49 |
A one-inch top-off is one third of the material of a full install. On a yard this size that is roughly two hundred dollars and two thirds of a truckload you do not need, every single year.
When you use a mulch calculator, this is the one setting people get wrong. Do not leave the depth field at the default 3 inches out of habit. Enter the top-off depth you calculated from your audit. Run each bed separately if your measurements differed, because averaging a thin front bed with a deep shady bed gives you a number that is wrong in both places.
Translating yards into bags you can actually carry
Bulk delivery is cheaper per yard, but a one-inch top-off is often small enough that bags win on convenience and on precision. A cubic yard holds 13.5 standard 2-cubic-foot bags, so a 2.47-yard top-off is about 34 bags. If you are deciding between a delivered pile and a trunk full of bags, the breakdown in how many bags of mulch are in a yard makes the crossover point clear.
One more planning detail that catches people off guard on refresh jobs: weight. Mulch is light dry and heavy wet, and a rained-on pile can be dramatically heavier than the same volume delivered dry. If you are wheelbarrowing across a lawn or loading a half-ton pickup, check how much a yard of mulch weighs before you commit to hauling it yourself.
Step 3: Choose your refresh mode
Not every bed gets the same treatment. Sort each one into a mode based on your audit.
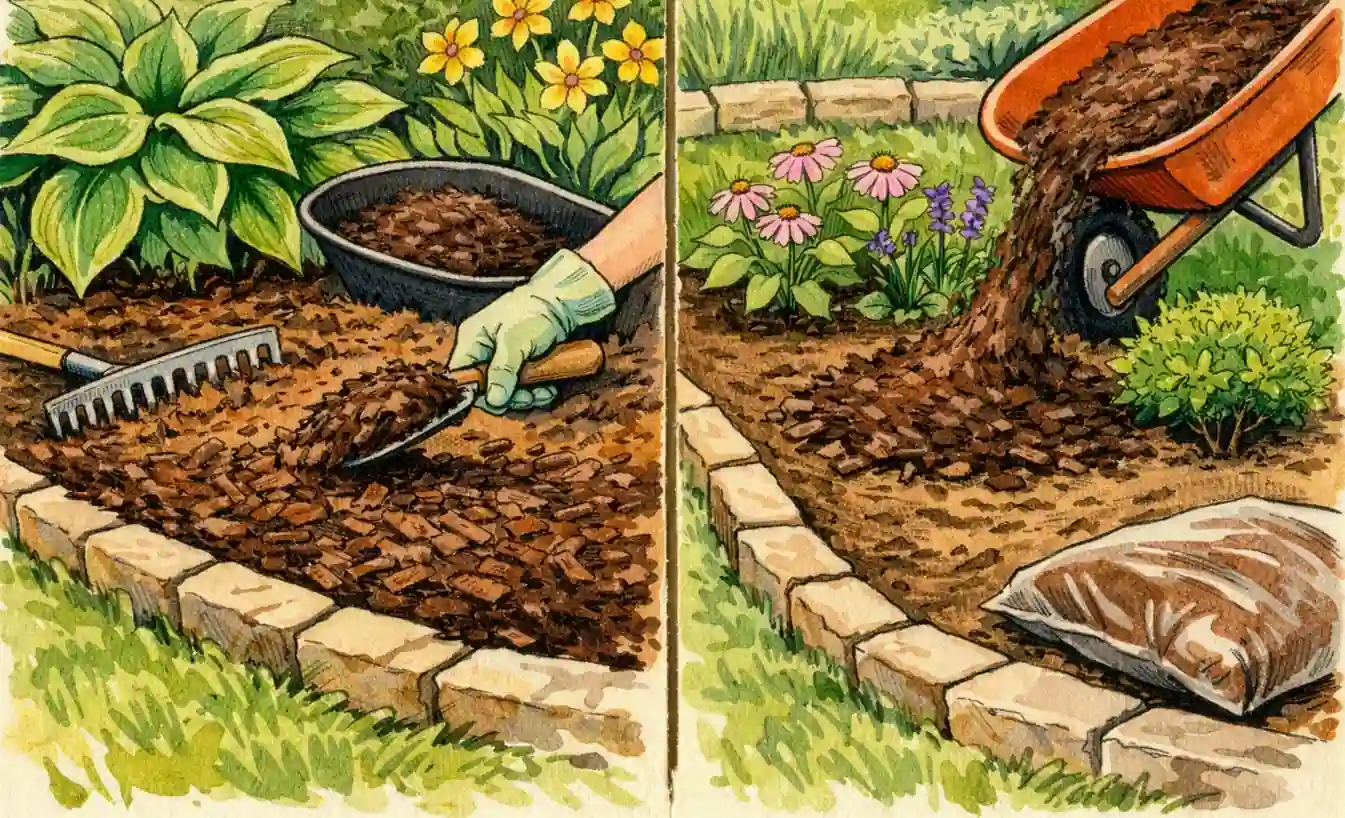
Mode A: Fluff only. Existing depth 2.5 to 3 inches, water still soaks in, color is the only complaint. Rake or fork the surface to expose the darker material underneath. Re-cut the bed edge. Add nothing. This is a free refresh and it looks better than most people expect.
Mode B: Fluff plus thin top-off. Existing depth 1.5 to 2.5 inches. Break the crust, then spread 0.5 to 1 inch of fresh mulch and rake it in lightly rather than laying it on as a separate sheet. Blending matters, because a distinct new layer over a compacted old layer is exactly the sandwich that sheds water.
Mode C: Partial removal, then top-off. Existing depth over 3 inches, or a matted crust that resists forking. Pull the excess off with a flat shovel and a tarp, get back down to about one and a half inches, then add fresh material to reach your ceiling. The removed material is not waste. Compost it, or use it as the base layer under a brand new bed where it will be covered and will keep breaking down.
Mode D: Full reset. Sour smell, persistent fungal mat, mulch that has essentially become soil, or you are switching materials entirely. Strip it, correct any grade or drainage issue while the bed is bare, then install a full 2 to 3 inches.
New beds are a different calculation entirely
A brand new bed has no existing layer to subtract, so you install the full depth in one go, usually 3 inches for shredded hardwood or bark. Two things change the number.
First, settling. Fresh coarse mulch compacts as it wets and knits, so a bed spread at 3 inches often reads closer to 2.5 inches after a few weeks. Ordering to 3 inches is appropriate for new installs; do not try to compensate by going to 4.
Second, weed pressure. If weed suppression is the main goal in a new bed, depth genuinely helps. The classic Greenly and Rakow study on wood mulch type and depth found the deepest applications gave the best weed control, though meaningful suppression showed up at just 2 to 3 inches. Reaching for the maximum is a trade against root health, and on a maintained residential bed 3 inches with a clean edge does the job.
Where the standard depth advice needs adjusting
A uniform number across the whole property is where most refresh plans go wrong. Three situations deserve their own depth setting.
Around trees and shrub trunks: Depth is only half the problem here; contact is the other half. Mulch should never touch the trunk. Rutgers recommends keeping mulch 3 to 5 inches away from the stems of young plants and shrubs, and 8 to 12 inches away from mature tree trunks.
Wet mulch piled against bark kills the inner bark tissue, invites disease and rodents, and can even heat up like a compost pile, with inner layers reaching 120 to 140 degrees Fahrenheit. Before a spring top-off, pull the existing mulch back from every trunk and expose the root flare. Then apply your fresh layer as a flat ring, not a cone. The full ring-sizing method is in the guide on calculating mulch around trees.
Slopes and berms: Sloped beds lose mulch to runoff, not to decomposition, so their audit numbers behave differently. The thin spots are usually near the top of the slope and the deep piles collect at the bottom. Redistribute before you order, and consider a coarser, heavier material that stays put. Depth and material choices for grade are covered in the guide on mulching a hillside.
Perennial and vegetable beds. Shallow-rooted perennials and annuals do better at the lower end of the range. Keep the total near 2 inches, and keep mulch off crowns entirely. Pull it back to plant, then tuck it in loosely around the base.
How often you need to buy mulch
Decomposition is slower than the annual-mulch marketing cycle suggests. In a comparison of landscape mulches, most materials lost only about 3 to 7 percent of their mass in the first year, while fast-breaking materials like fresh green yard waste and eucalyptus lost 21 to 32 percent.
The broad review of mulch impacts on landscape plants by Chalker-Scott makes a similar point about coarse woody mulches being durable and low-maintenance compared with fine materials. Translated into a buying schedule for common products:
| Material | Color life | Realistic buy cycle |
|---|---|---|
| Dyed shredded hardwood | About 1 season | Light 0.5 to 1 in top-off yearly |
| Natural shredded hardwood | 1 to 2 years | Top off every other year, fluff in between |
| Pine bark nuggets | 2 to 3 years | Top off every 2 to 3 years |
| Cedar or cypress | About 2 years of color | Top off every 2 years |
| Pine straw | 1 season | Refresh yearly, it compresses a lot |
| Compost as mulch | Under 1 year | Add yearly, it does not go hydrophobic |
Illinois Extension frames it well: wait to replenish or refresh mulch after it has decomposed. If your ruler says the depth is still there, the honest answer is that this year you are buying color, not function, and half an inch of color goes a long way. If color is the only issue and depth is at the ceiling, fluffing and edging is the correct answer, not a purchase. That is not a corner you are cutting. It is the recommendation
A 30-minute spring refresh routine
- Clear and weed. Pull weeds and remove leaves and sticks. Weeds pulled before mulching stay gone longer.
- Measure. Ruler test, three spots per bed. Write it down.
- Water test. One splash per bed. Note anything that beads.
- Pull back from trunks and crowns. Expose root flares. Fix any mulch volcanoes now.
- Fluff. Fork or cultivate the top inch to break the crust and lift fresh color.
- Subtract and order. Target depth minus measured depth equals top-off depth. Run the numbers per bed.
- Edge. A crisp 3-inch trench edge does more for curb appeal than an extra inch of mulch.
- Spread and blend. Rake the new material into the fluffed layer rather than sheeting it on top.
- Water it in. A deep soak after spreading settles the mulch and confirms water is reaching the soil.
Mistakes that quietly cost you money and plants
- Using last year’s order as this year’s order. Your beds decomposed at different rates. Re-measure every spring.
- Leaving the calculator at 3 inches. It is the default because new installs are the most common search. Change it for maintenance.
- Laying new mulch over a hydrophobic crust. You are building a thicker barrier, not fixing one.
- Mulching to hide a drainage problem. If a bed stays soggy, extra mulch makes the oxygen problem worse. Fix grade or drainage first.
- Volcano mulching. Cones against trunks are the single most damaging habit in residential landscaping, and it is entirely free to fix.
- Buying dyed mulch expecting three years of color. Dye fades in roughly a season. Budget for a thin annual top-off or pick a natural coarse material.
- Rounding up “just in case.” Overage on a top-off does not sit in the garage. It ends up spread, which defeats the entire point.
Final Words
The first year you mulch a bed, you buy volume. Every year after that, you buy a quarter inch of color and ten minutes with a rake. Measure first, subtract, and set your depth to the number your ruler gave you instead of the number on the bag. Your beds will look sharper, your shrubs will live longer, and your spring mulch bill will drop by roughly two thirds.
Frequently Asked Questions (FAQs)
How much mulch do I add over old mulch?
Subtract your measured existing depth from your target total of 2 to 3 inches. For most maintained beds that is 1 inch or less.
Should I remove old mulch before adding new?
Only if the total would exceed 3 inches, if it is matted and repels water, if it smells sour, or if you are switching materials. Otherwise rake it loose and top off.
Can 1 inch of mulch really look fresh?
Yes, when you fluff the old layer first and blend the new material in. Color lives in the top half inch. What sells the look is a clean edge, not depth.
Is 4 inches of mulch ever acceptable?
On well-drained soil with coarse chips, trees tolerate more than the rules suggest. On average residential soil with fine shredded mulch, treat 3 inches as the ceiling and 2 inches on heavy clay or poorly drained ground.
Do I need to remove mulch to fertilize?
Apply fertilizer to the soil before mulching so nutrients are not tied up in the carbon-heavy mulch layer. On an established bed, rake the mulch aside, feed, then rake it back.
Why is my mulch growing a white or gray mat?
That is fungal mycelium in a dry, compacted layer. It is not harmful to plants, but it signals that water is not moving through. Fork it up and water deeply, or remove that section.

About the Author
Qazi Raza – Technical Creator & Researcher
Qazi Raza develops construction, engineering, and home‑improvement calculators by researching verified formulas, industry standards, and authoritative reference materials. His tools are built using data from ASTM specifications, ASHRAE guidelines, NEC tables, building codes, and widely accepted engineering textbooks. Each calculator is designed to help homeowners, DIYers, and contractors make accurate, confidence‑based decisions.